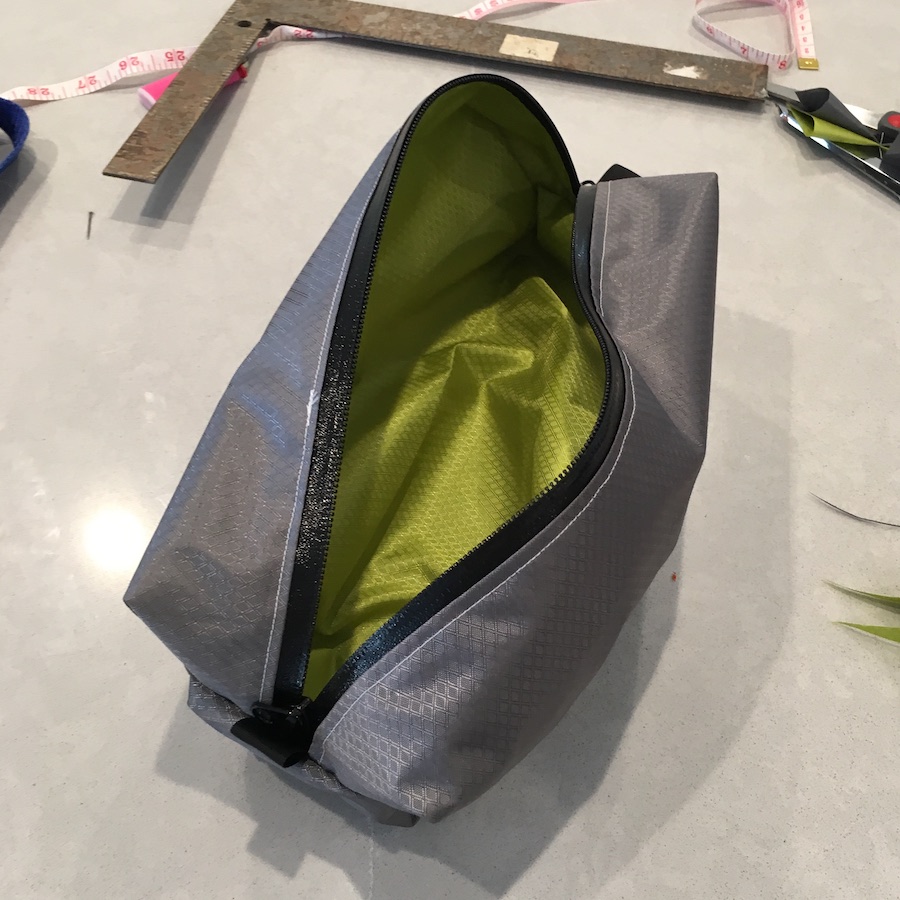
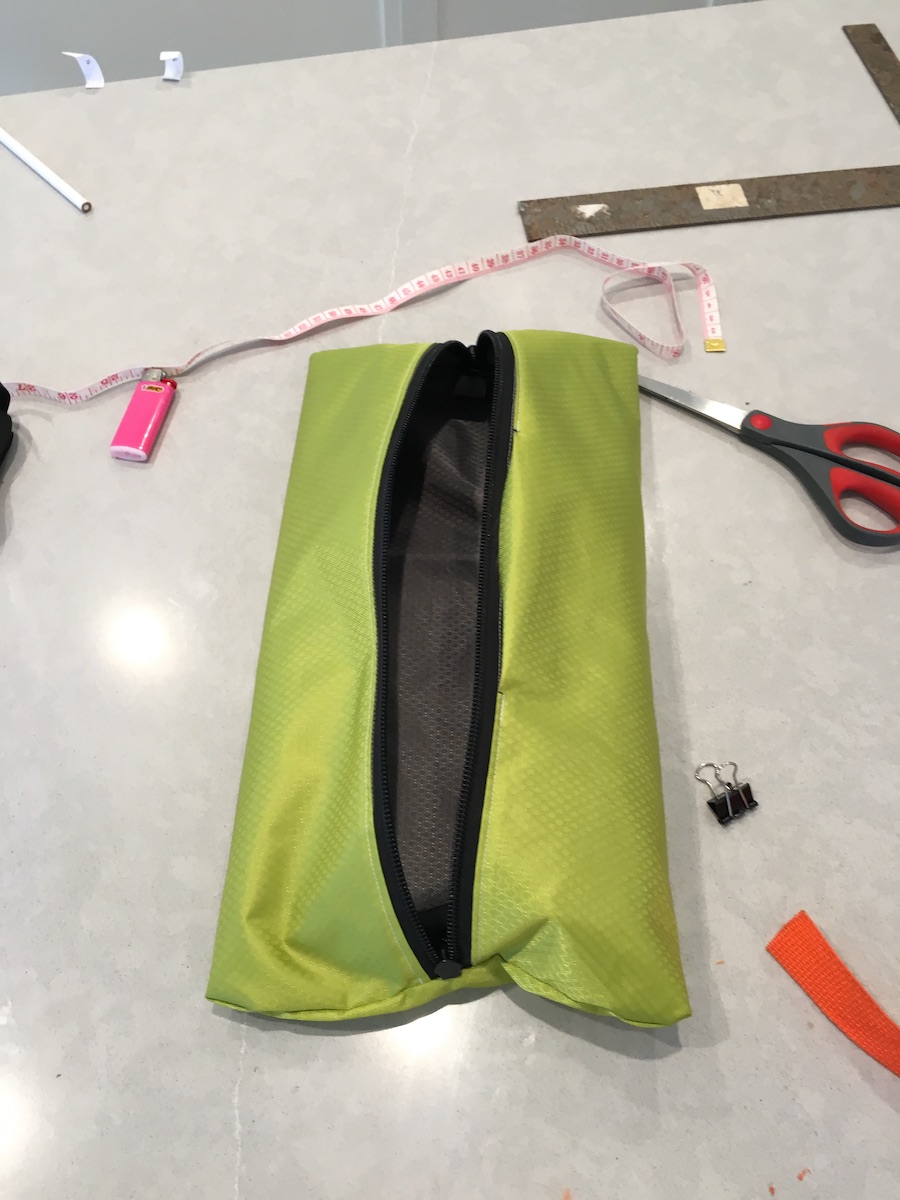
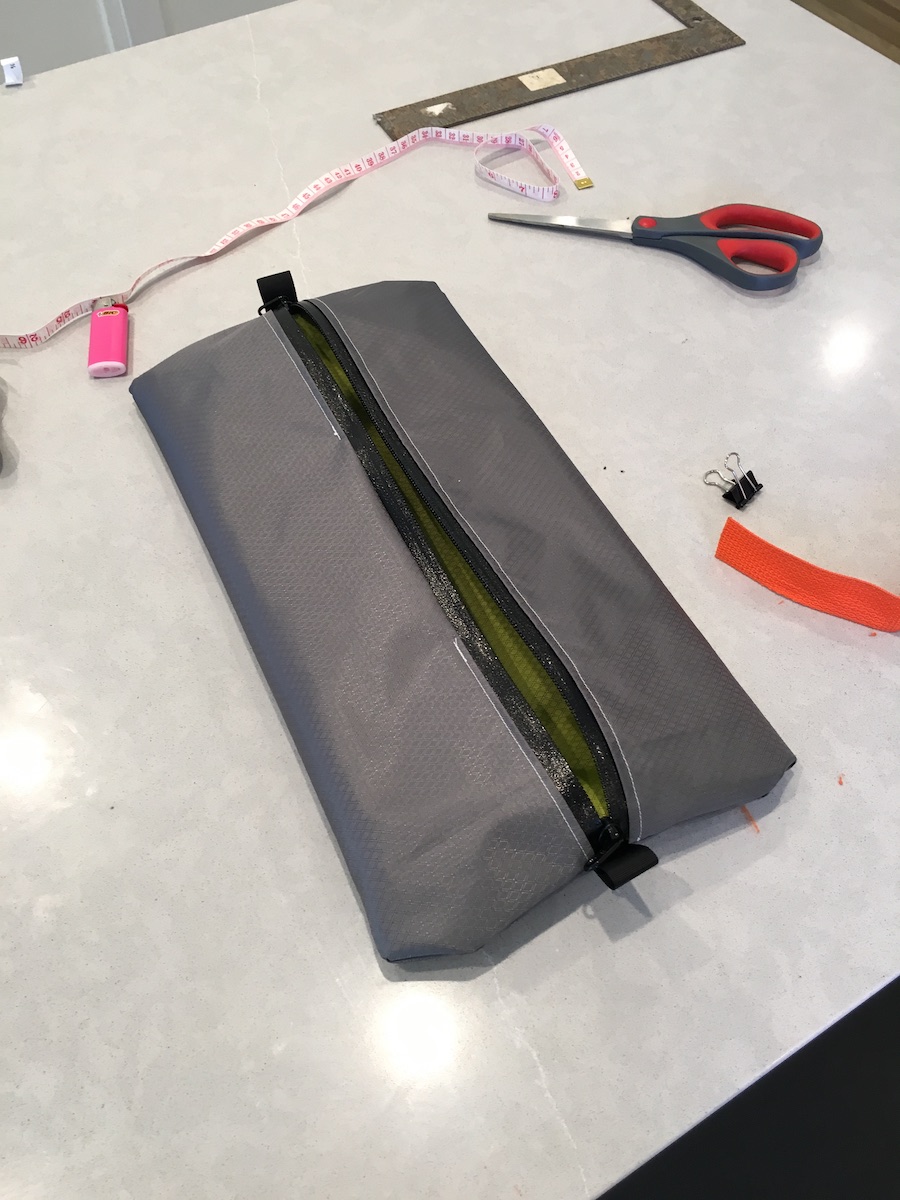
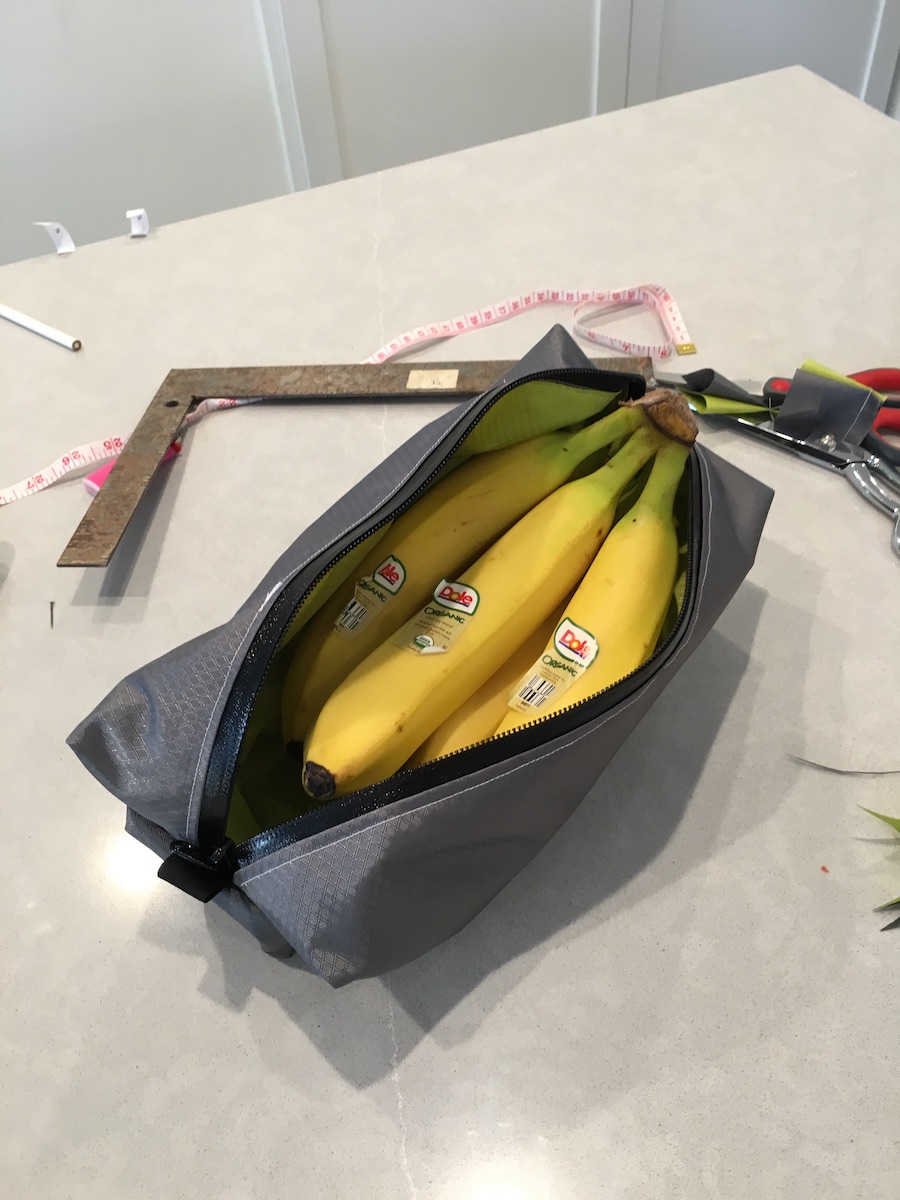
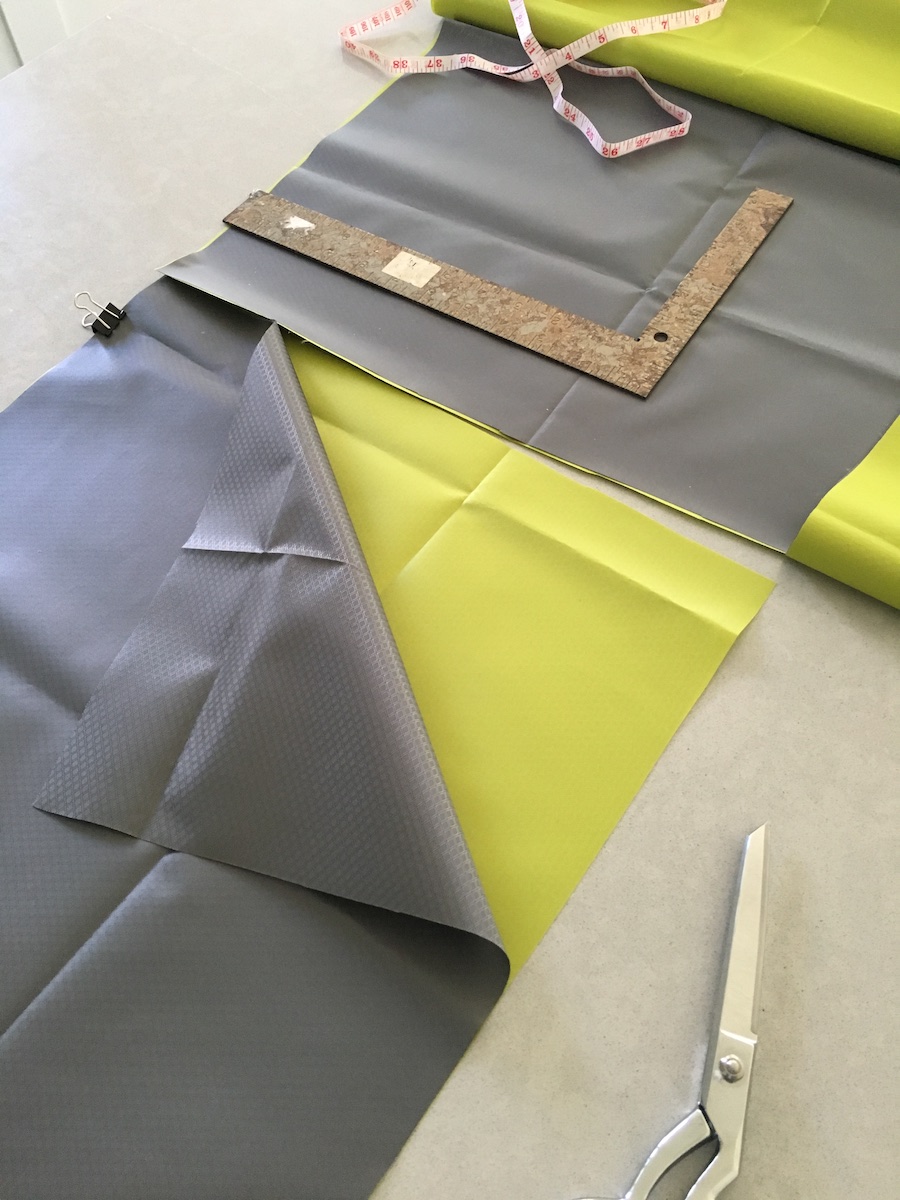
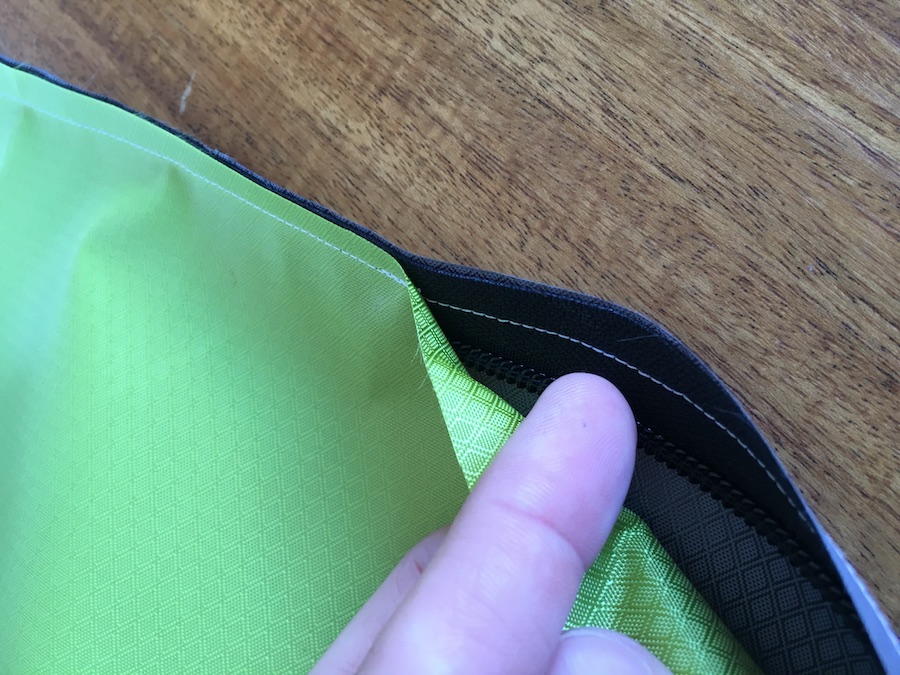
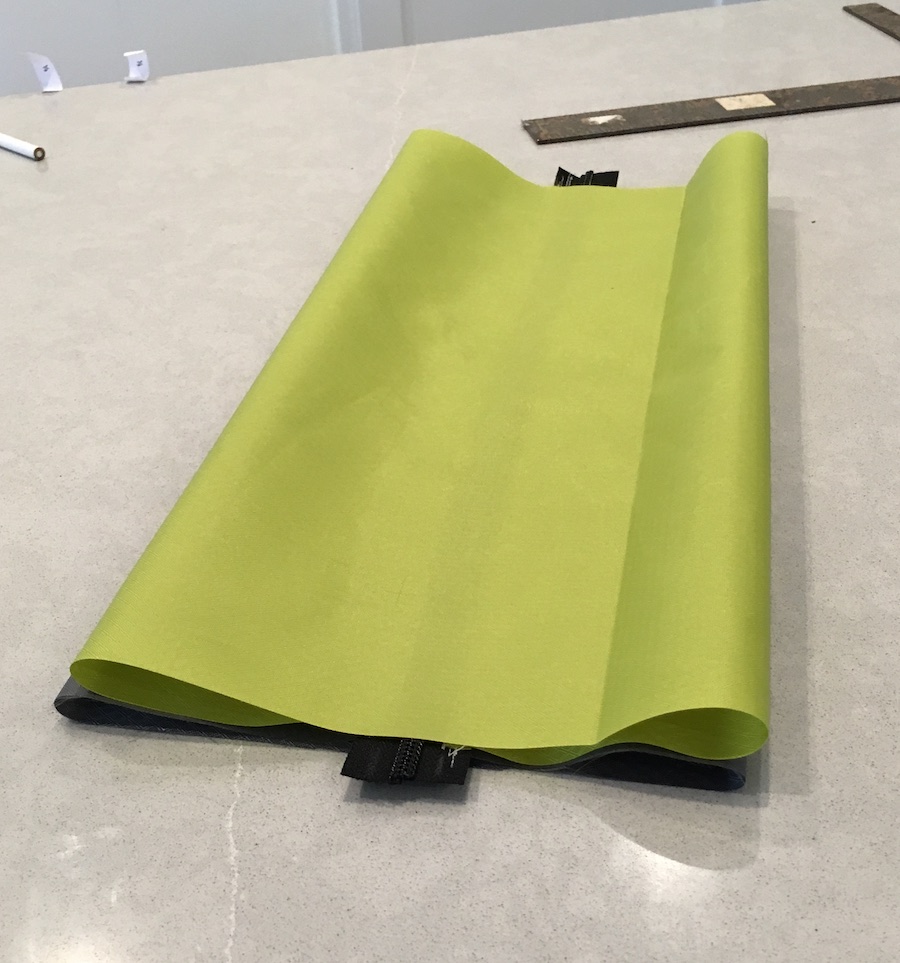
The idea here was to make a zipper pouch like the first I’d made, but with a lining fabric which hides all seams, eliminating the need for bias tape. This cleans up the look of the bag but also reduces the folds and corners where gunk can accumulate.

The fabric is Ripstop By the Roll’s HyperD 300, which has a nice heavy feel and is easy to work with.

Final product first.
Cutting. Just two equal rectangles.
Both pieces are sewn to one piece of zipper tape with right sides together. The trick for the hidden-seam lining is to leave a gap in the seam which connects the lining to one piece of zipper tape.
Zip the two tapes together and you wind up with two tubes attached to a zipper.
Find the centers of each tube, square the corners, and sew each end of each tube together.
With the bag inside-out you get this . . . close, but the lining is on the outside and the zipper is upside-down.
So you pull the bag inside-out again, this time through the slot you left at the very beginning.
Topstitch the gap and it's all sealed up.